
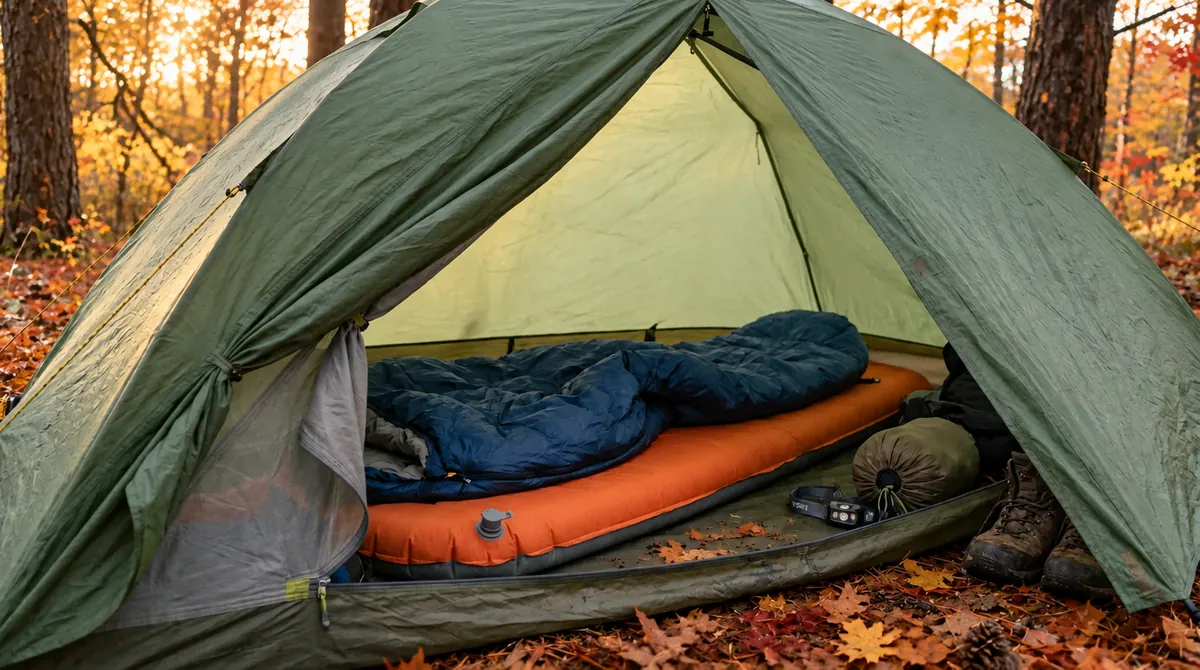
How to Choose a Sleeping Pad: R-Value and What Else Matters
A sleeping pad is the piece of camping kit people underspend on and then blame the sleeping bag for. Cold nights are almost never a bag problem. They are a ground problem, and the pad is the only thing between you and it. This guide covers R-value and how much of it you actually need, the three types of pad and what each one costs you, and the practical details – thickness, noise, punctures – that decide whether you sleep or lie there counting hours.
Key takeaways
- R-value measures resistance to heat lost into the ground, and it is the only number worth comparing.
- Since 2020 there is an ASTM test standard – if a pad does not cite it, the number is a claim.
- Side sleepers need roughly 3 inches of thickness; 2 inches bottoms out at the hip.
- R-values stack, so a cheap foam pad under an air pad is the cheapest route to winter warmth.
R-value is the number that matters
R-value measures how well the pad resists heat moving out of you and into the ground. The ground is the problem because conduction pulls heat far faster than still air does. Your sleeping bag handles the air; it cannot handle the ground, because the down or synthetic fill underneath you is crushed flat by your body weight and crushed insulation insulates nothing. A 20°F bag on a summer-weight sleeping pad is not a 20°F system.
Higher is warmer, and the scale is roughly linear – a pad rated 4 is about twice as resistant to heat loss as one rated 2. There is no upper limit written into the scale, but pads above about 7 are specialist winter kit.
What sleeping pad R-value do you actually need?
Match the number to the coldest ground you expect, not to the daytime forecast.
- 1.0 to 2.0 – Summer only, warm ground, nights comfortably above 50°F.
- 2.0 to 3.5 – Late spring through early autumn on ground that has had time to warm up.
- 3.5 to 5.0 – Genuine three-season use, including shoulder nights close to freezing. This is the range most people should buy.
- 5.0 to 6.5 – Winter on frozen but snow-free ground.
- 6.5 and above – Snow camping and expedition use.
Two adjustments worth making. Spring needs more than autumn at the same air temperature, because the ground has not recovered from winter while in autumn it is still holding summer heat – the same 35°F night is colder in April than in October. And if you sleep cold, add roughly one point to whatever the chart says. Buying a point too warm costs you a little weight; buying a point too cold costs you the night.
The ASTM standard changed what R-value means
Before 2020, every brand ran its own thermal test and published whatever came out. The numbers were not comparable across manufacturers, and some were close to fiction. The industry then adopted ASTM F3340, which specifies the method: the pad is clamped between a warm plate held near body temperature and a cold plate, the energy needed to hold that temperature is measured, and the reading is taken at three points on the pad.
The practical consequence is simple. If two pads both cite ASTM F3340, their R-values are directly comparable. If a pad quotes an R-value with no standard named, treat it as marketing rather than measurement – especially on unbranded listings. When the standard came in, several well-known pads were republished with lower numbers than before. The pads had not changed; the test had.
The three types of sleeping pad
Each type trades away something different. There is no best one, only the one whose trade-off you can live with.
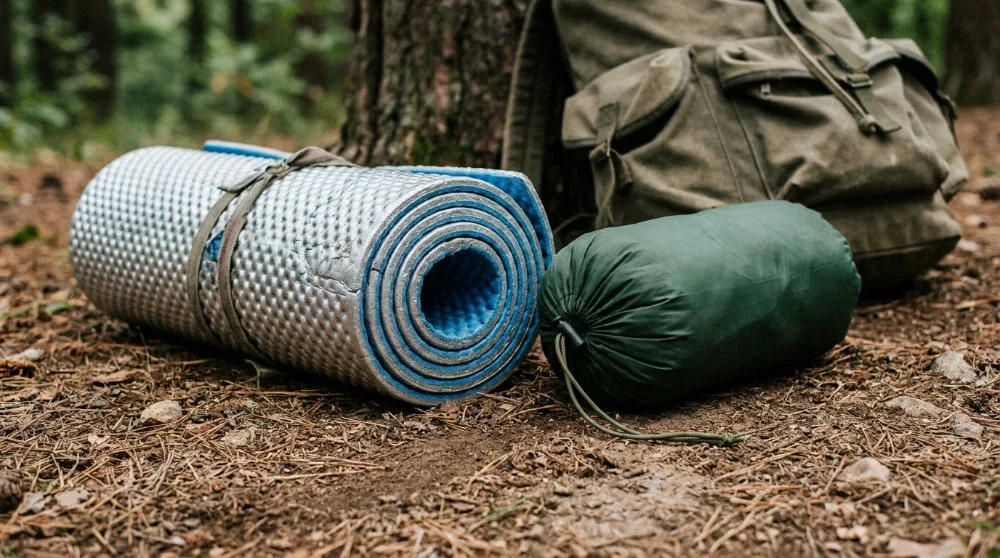
- Closed-cell foam – Cheapest and effectively indestructible. Cannot puncture, cannot fail, doubles as a sit pad. Usually around R 2, thin and firm, and bulky because it does not pack down. The pad that never ruins a trip.
- Self-inflating – A foam core inside an airtight shell; open the valve and it draws air in on its own. Warm for the price, durable, forgiving of small leaks because the foam still works. Heavier and bulkier than a pure air pad.
- Air pads – The most warmth and thickness per gram, and they pack down to roughly the size of a water bottle. Also the most comfortable. The costs are price, a puncture ending the night, and often noise.
Sleeping pad thickness and how you sleep
Thickness is not luxury, it is clearance. Side sleepers put nearly all their weight on a hip and a shoulder, and on a 2 inch pad those two points bottom out onto the ground – you feel it as a bruise by morning. Around 3 inches is the practical minimum for side sleeping. Back sleepers spread the load and are usually fine at 2 inches. Stomach sleepers generally prefer a firmer, thinner pad, because a thick soft one arches the lower back.
Do not inflate a sleeping pad rock hard. Let two or three breaths back out so your hip sinks slightly instead of perching on top. A drum-tight pad is the most common reason people decide an expensive pad is uncomfortable.
Weight versus comfort
Sub-one-pound pads exist, and they get there by being narrow, tapered at the feet, thinly built and noisy. That is a fair trade if you are counting grams over long miles. If you are car camping or paddling in, weight is close to irrelevant and you should simply buy thickness and width. Be honest about which trip you actually take most often, and buy for that one rather than for the trip you keep meaning to do. The same logic runs through the rest of our camping gear category.
Noise: the sleeping pad spec nobody publishes
Many insulated air pads use a metallised or reflective film inside to bounce radiant heat back. It works, and it crackles every time you turn over. No manufacturer prints a decibel figure, so the only signal you get is the fabric description and other campers complaining. Thicker face fabrics, self-inflating pads and foam are all quieter. If you share a tent, this matters more than the 60 grams you saved.
Punctures, and what to carry
Most leaks do not come from the ground itself. They come from grit trapped under the pad, from a thorn that got packed away with it, or from the pad being dragged over a rough surface. Clear the obvious sticks and stones from your pitch and use a groundsheet, and the risk drops sharply. Clearing loose debris is fine; digging or cutting vegetation is not, and the Leave No Trace principles published by the National Park Service cover how to pick a durable site properly.
Carry the patch kit that came with the sleeping pad plus a small tube of seam sealant. To find a slow leak, inflate the pad hard and listen along the seams, or run soapy water over it and watch for bubbles. One warning: a failed valve is not a field repair. If the valve is the weak point on a pad you are considering, that is worth knowing before you buy rather than at 2 a.m.
Width, length and the pack trick
Standard width is 20 inches, which is narrow enough that an arm or a knee ends up on cold ground most nights. A 25 inch pad solves it for a small weight penalty and is the upgrade people notice most. On length, you do not necessarily need a full-length sleeping pad: one that ends at your ankles works fine if you put your empty backpack under your feet. That saves real weight, and your feet are the part of you least bothered by a slightly worse surface.
How you inflate it matters more than you think
Blowing a pad up by mouth pushes warm, damp air inside. Over a season that moisture condenses in the baffles and can grow mould you cannot reach. In winter it is worse: the moisture freezes inside the pad and measurably reduces its R-value on the nights you need it most. Use the pump sack that came with it. It takes about two minutes, keeps the inside dry, and saves you being lightheaded at the end of a long day.
Stacking sleeping pads: R-values add up
R-values are additive. A closed-cell foam pad rated 2.0 underneath an air pad rated 3.2 gives you roughly 5.2 – winter territory – for the price of the foam. It is the cheapest way to extend a three-season sleeping pad into cold conditions, and the foam layer doubles as insurance: if the air pad punctures, you are not sleeping on bare ground. It also protects the air pad from whatever is under it.
Five mistakes that cost people a night of sleep
- Matching the pad to the air temperature. The ground is colder than the forecast, and in spring it is much colder.
- Inflating it drum tight. Let some air back out so your hip sinks in rather than balancing on top.
- Storing it tightly rolled. Store a self-inflating pad unrolled with the valve open, or the foam takes a permanent set and loses loft.
- Buying on weight alone. The lightest pad in the range is usually the narrowest and the noisiest.
- Leaving the repair kit at home. It weighs almost nothing and it is the difference between a bad night and no night.
Frequently asked questions
Do I still need a good sleeping pad if I have a warm sleeping bag?
Yes, and it is the more important half of the system. The insulation underneath you is compressed flat by your own weight, so it contributes almost nothing. Temperature ratings on bags are tested on an insulated pad; put the same bag on bare ground and the rating stops meaning anything. If your budget is split, put it into the pad.
What R-value do I need for winter camping?
Roughly 5.0 or higher for frozen ground, and above 6.5 if you are sleeping on snow. The cheapest way there is stacking: a foam pad under your existing three-season pad adds its full R-value to the total and gives you a backup if the air pad fails.
Can a sleeping pad be repaired in the field?
A puncture in the fabric, yes – clean and dry the area, apply the patch from the kit, and weight it for as long as you can spare. Seam separations are harder but often hold with seam sealant. A broken valve usually cannot be fixed out there, which is why a foam pad underneath is worth its weight on a long trip.
Is a closed-cell foam pad warm enough for three-season camping?
It is marginal. Most sit around R 2, which covers summer and mild shoulder nights but not much below that. Foam earns its place as a second layer, as a sit pad, and as the pad you take when a failure would be genuinely serious – not usually as the only pad for a cold trip.
So which sleeping pad should you buy?
For most people, one pad: R-value between 3.5 and 5.0, at least 3 inches thick if you sleep on your side, 25 inches wide if you can carry it, insulated air or self-inflating depending on whether you care more about pack size or durability. Add a cheap foam pad later for winter rather than buying a second expensive one. And check that the R-value cites ASTM F3340 before you believe it.
Where to start
Browse sleeping pads and the rest of our shelter and sleep kit in the camping category – every listing shows thickness, packed size and weight up front.
More buying guides are collected on the MAXELTI Active blog, including how to choose a spinning reel and how to choose a trail camera. If you are building out the rest of your kit, the outdoor gear category covers what goes in the pack.